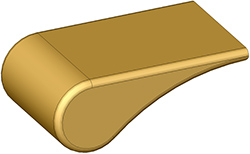
| When I designed the feet for the
pedestal, I was rather concerned, because I knew that my crappy old
bandsaw could not make a 5-inch thick cut without hacking it to death.
As a cabinetmaker, I have not had much use for a bandsaw except for
simple rough-cuts.
|
 |
|
My only two options for the feet was to get a new bandsaw, or
farm these out to someone else. Unfortunately, the only person I would
trust to make these is my father, and he owns the same crappy bandsaw
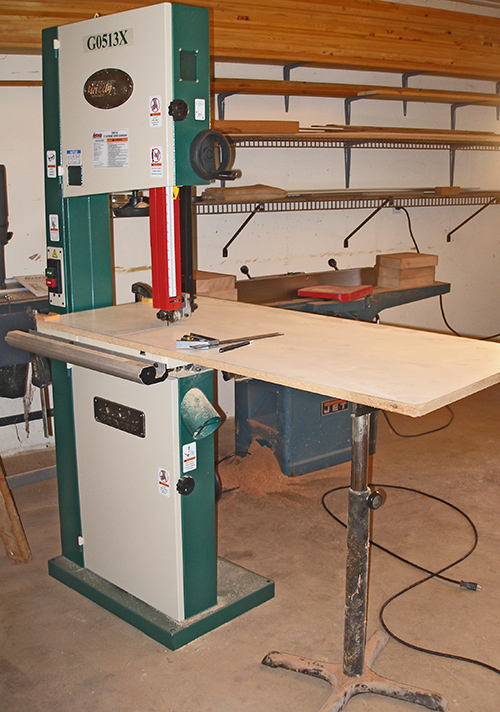
that I own. Let’s Go Shopping! Just like a woman buying shoes, nothing makes a woodworker happier than buying new tools. Instead of getting a standard 14-inch bandsaw, I decided to go
a little larger so I would have some re-saw capabilities. (I’ve
recently acquired some nice walnut and cherry lumber that I may wish to
re-saw into thick veneer.) I came across a bargain on the Grizzly GO513X, 17-inch bandsaw
for $100 off the list price. This bandsaw has a 16-inch cut capacity
and a 12-inch resaw capacity, but more importantly is the roller
bearing blade guides. These allow me to tightly control the blade
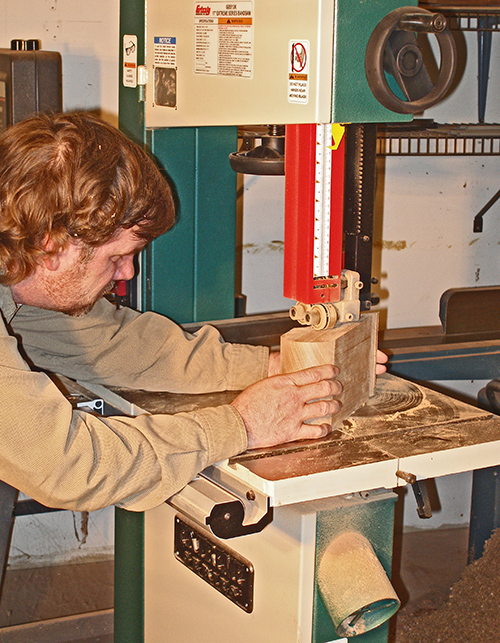
tracking, and result in super clean cuts. Before using the saw, I spent some time adjusting the guides
for proper blade tracking, and squared the table to the blade. The picture to the right is from when I was setting up the
extension table to cut the scallops of the base. . |
 |
|
To ensure that all eight feet were exactly the same height, I first planed the plank down to about 2-15/16 inches. This way, after the curve is cut, the top and bottom surfaces are still in the original plane. I installed an 1/8-inch blade into the bandsaw and made some test cuts to see how well it would handle the thickness. I was amazed that the cuts were so smooth that they were shiny! With results like this, I decided that instead of cutting wide of my pencil lines, I would cut directly on the line, as it is easier to maintain an exact line than it is to maintain an offset from the line. This paid off, because I had almost no sanding to do in the end. After
sanding, I used a 3/16-inch radius bit to round
the corners. For greater control, I did this on the shaper. This way it
was easier
to control the stopped-cuts with less chance of overshooting the ends. Up
next, making the substrate panel. |
 |
| <<PREVIOUS NEXT>> |
 |